How to: Start over with SharePoint 2010 Enterprise Search
Posted
Monday, October 25, 2010 5:11 PM
by
CoreyRoth
It happens to the best of us. Sometimes, we just need to start over. A lot of times, I see cases in the forums where it is just easier to reinstall the Search Service Application. This especially applies to new environments or when someone ran the dreaded “wizard” to set up their service applications. This serves as a quick reference guide on how to re-create your Search Service Application. When you do this, you will lose all existing search settings, your search index, your scopes, and any managed property mappings you might have made. Keep that in mind if you are starting this procedure.
The first thing we need to do is delete the existing Search Service Application. Typically, it is named Search Service Application. However, if you are running FAST, it will likely be called something else. Whatever, it is named, it will look something like you see in the picture below. You need to select the service application to highlight it, but do not click the link.

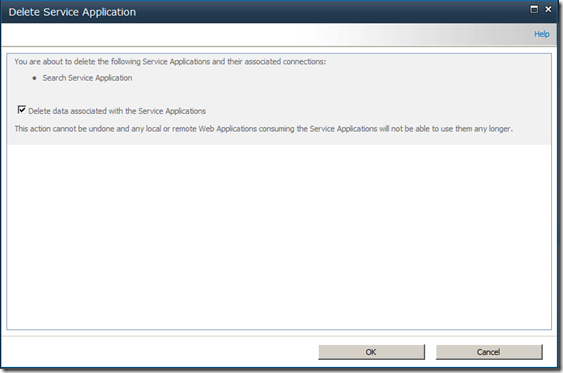
Once you have selected the application, click the Delete button in the ribbon. You will get prompted for confirmation and also with a checkbox that says Delete data associated with the Service Applications. If you’re at the point that you need to start over, I would go ahead and check this box, since things might not work right if you don’t check it. Click OK when to delete the service application. It might take a few minutes to delete the application.

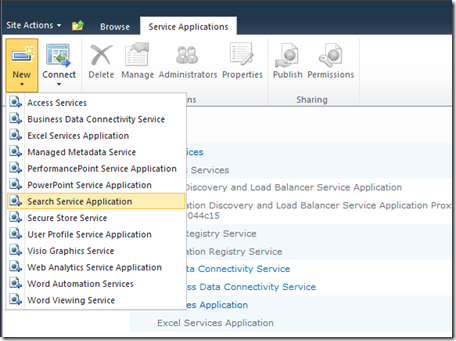
Your Search Service Application along with its proxy is now gone. Now, we need to create a new one. On the Service Applications page, click the New button in the ribbon.

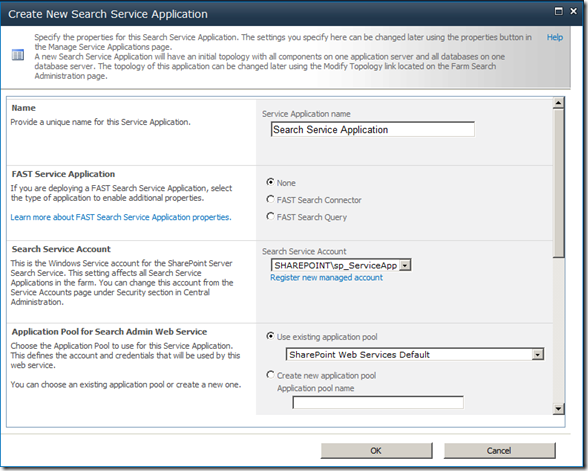
On the next screen, you will be asked for a service application name, whether or not its associated with FAST, and what the application pool settings are. To keep things consistent, I usually use the name Search Service Application. If you don’t have FAST, just leave the Fast Service Application set to None. If you do have FAST, you’ll need to look up all your settings and follow the FAST documentation before you can proceed. I would recommend you create a new account for your Search Service Account if you haven’t already. If you used the configuration wizard earlier, the application pool that was used previously is SharePoint Web Services Default and the account it uses is your farm account. You can continue to use that if you wish. However, this is a great opportunity to create new application pools and register a separate account.

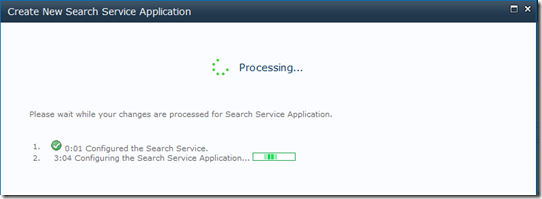
Once you have configured all settings, click the OK button and you will see a progress screen that will take several minutes.

Once it finishes, you can click on the Search Service Application to begin configuration. When you look at the status, it will still be provisioning things to your farm for several minutes. You might see something like this.

Note that the Propagation Status reports Waiting for initialization. You may get some errors during this phase as things aren’t quite up and running yet. The first thing you want to do is change the Default content access account. I have posted on this before. You need to change it to an account that is not a service account, farm account, or administrator account. If you don’t you’ll have issues with security trimming. The next thing you might want to do is modify your farm topology to add index partitions, set up mirroring, or redundant indexers. I’ll talk more about search farm topology in a future article.
At this point, you need to set up your content sources again and start crawling. You can do this through the UI, however, I recommend using PowerShell. By using PowerShell, it will make it easier to move these settings to other farms in the future (i.e.: test and staging). You can use PowerShell to create new content sources (post coming), set up managed properties, and set up scopes. The Local SharePoint Sites content source should be configured automatically to crawl you SharePoint sites, so just verify the settings and kick off a full crawl. This is a good time to set up your crawl schedule again. Once the crawl is finished, you should be able to start executing queries. Go to your search center (or create a new one) and test things out.